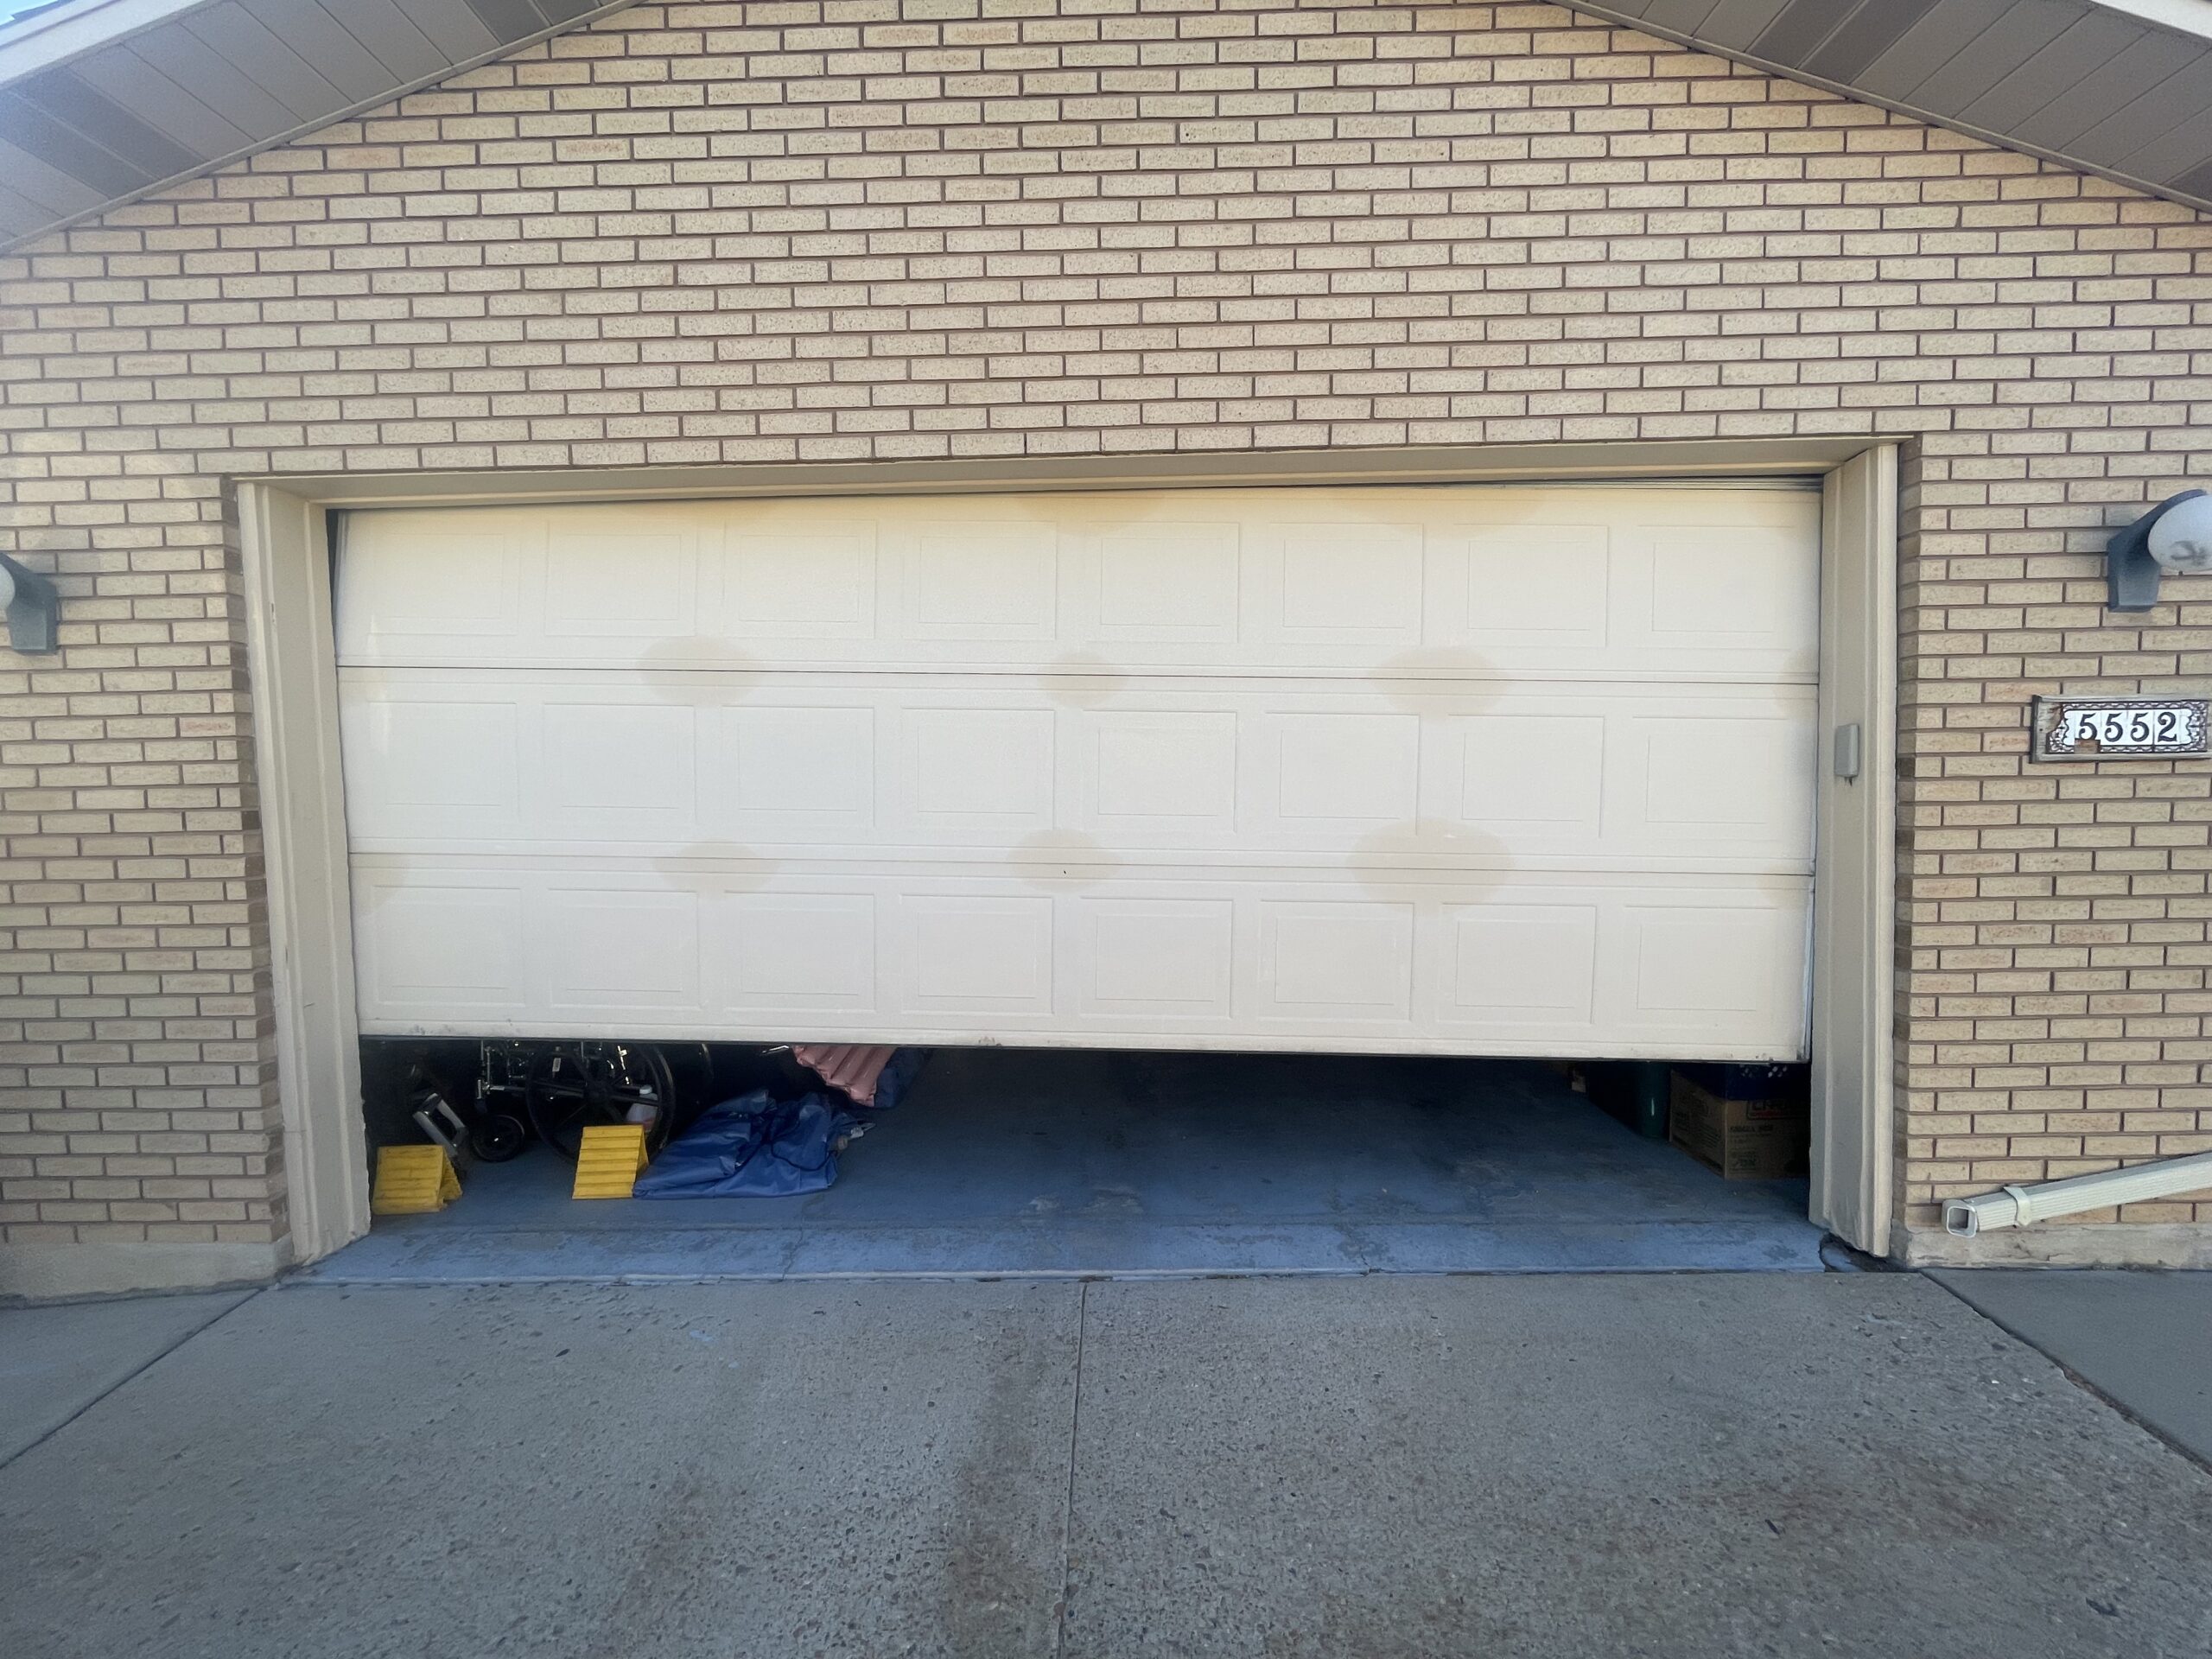
fbpx Skip to main content

Winter takes a toll on your garage if it’s not properly prepared. Weather stripping is your first line of defense, sealing gaps to block drafts, moisture, and pests while keeping your garage insulated. 

This blog covers everything you need to know about weather stripping, from recognizing when to replace it to tips on choosing and installing the right type. Proper preparation ensures your garage and home stay secure and comfortable all winter long.

What is weather stripping?

Weather stripping seals the gaps around your garage door, keeping out drafts, moisture, and pests. It plays a crucial role in maintaining insulation and preventing energy loss.

The main types include:

  • Bottom seals: Attach to the bottom of the door to block air, water, and debris.
  • Threshold seals: Install on the floor to work with bottom seals, adding extra protection.
  • Side strips: Seal the vertical gaps along the door frame to stop air and moisture from entering.

Proper weather stripping keeps your garage insulated, reduces energy costs, and protects against the elements.

Why is weather stripping crucial before winter?

As winter approaches, weather stripping becomes essential for your garage. It seals gaps in your garage door, blocking cold drafts from entering and turning your garage into an uncomfortably cold space. Without it, freezing air seeps in, affecting the warmth of both your garage and home.

By insulating your garage, weather stripping helps reduce energy costs. It keeps cold air out, so your heating system doesn’t have to work overtime, saving you money on utility bills.

Weather stripping also shields your garage from harsh winter elements like moisture, snow, and ice. This protection prevents water damage, rust, and the freezing of door components, allowing your garage door to operate smoothly all season long.

If your garage is attached to your home, weather stripping improves comfort in nearby rooms, keeping the cold out and your living space warm and cozy throughout the winter.

Signs your weather stripping needs replacing

Weather stripping on your garage door wears out over time, and recognizing when to replace it is crucial for keeping your garage insulated and protected. Cracks, gaps, or visible damage are clear signs that the material has broken down, leaving your garage exposed to drafts, moisture, and pests.

If you feel drafts near the garage door, especially during colder months, your weather stripping likely isn’t sealing properly. When functioning correctly, it should block cold air from entering, so any noticeable breeze signals the need for replacement.

Daylight peeking through the bottom or sides of your garage door is another indicator. Even a small gap lets in cold air, water, or pests. Replacing the weather stripping seals these gaps, preserving your garage’s insulation.

A sudden rise in energy bills may also point to ineffective weather stripping. Cold air slipping into your garage forces your heating system to work harder, increasing energy costs. Swapping out worn weather stripping improves energy efficiency and helps reduce your monthly bills.

Types of weather stripping materials

Choosing the right weather stripping material is key to sealing your garage door effectively and maintaining proper insulation. Each material offers specific benefits for different areas of the door.

Rubber is a top choice for bottom seals. Its durability and flexibility make it perfect for blocking cold air, moisture, and pests from entering. Rubber performs well in all climates and holds up to frequent use, making it ideal for sealing the bottom of your garage door.

Vinyl is another highly durable and flexible material commonly used for side and bottom strips. It withstands extreme temperatures without cracking or wearing down, offering long-lasting protection. If you’re looking for a material that handles harsh weather while maintaining a snug fit around the door, vinyl is a great option.

For garages with uneven surfaces, brush-style weather stripping is the best choice. The dense bristles adapt to irregularities along the sides or bottom of the door, providing a reliable seal. This type works especially well for older garages with misaligned floors or doors.

When selecting the right material, consider your garage’s specific needs. If you want durable protection against harsh conditions and heavy use, rubber is an excellent pick for bottom seals. 

For flexibility and longevity in tough climates, vinyl is ideal. If you have uneven surfaces, brush-style weather stripping offers the best fit. 

Choosing the right material ensures your garage remains insulated, dry, and energy-efficient throughout winter.

How to install or replace weather stripping

Installing or replacing weather stripping on your garage door is a simple DIY project that helps keep your garage insulated and protected from the elements. Follow this step-by-step guide to ensure you get it right.

Step 1: Measure and cut the weather stripping

Begin by measuring the length of the bottom and sides of your garage door, accounting for any curves or uneven surfaces. After measuring, cut the weather stripping to the correct length using a utility knife or heavy-duty scissors. It’s better to cut slightly longer and trim off the excess later than to end up short.

Step 2: Remove the old weather stripping

Remove any old weather stripping by using a flathead screwdriver or pry bar to peel it off gently. Clear away old adhesive, nails, or screws still in place. Clean the surface thoroughly with a mild cleaner and a cloth to ensure the new stripping adheres properly.

Step 3: Install the new weather stripping

For bottom seals, slide the new seal into the track at the bottom of the garage door. If your door doesn’t have a track, secure the seal with screws or nails. Make sure the seal lies flat, with no gaps, to block drafts and moisture.

For side strips, align the weather stripping along the door edges, ensuring it fits snugly when the door is closed. Secure the strips with nails, screws, or adhesive, depending on the type you’re using.

For threshold seals, place the seal on the garage floor where the door meets the ground. This adds an extra layer of protection, especially in wet climates. Align the seal carefully before securing it with adhesive or screws.

Step 4: Ensure a snug fit

After installation, check the entire perimeter of your garage door to ensure the weather stripping on your garage door fits tightly. Close the door and look for any gaps where air, light, or moisture might slip through. If needed, trim the excess material or tighten loose sections. The goal is to create a tight, seamless barrier that maximizes insulation and protects your garage.

Benefits of professional installation

A man in a blue shirt and hat repairs a garage door, focusing on weather stripping and insulation improvements.

Hiring a professional for weather stripping ensures precision and peace of mind. While DIY might seem easy, professionals bring the expertise to measure, fit, and install materials correctly, preventing gaps or poor insulation. They avoid common mistakes that could leave your garage exposed to drafts and moisture, saving you from higher energy bills or repairs later. 

Equipped with specialized tools and knowledge, professionals provide a long-lasting, secure seal that maximizes efficiency.

Trust A-1 Garage Door Repair for expert weather stripping installation. Contact us today for reliable service and a free estimate, keeping your garage winter-ready!

revitymarketing

Leave a Reply