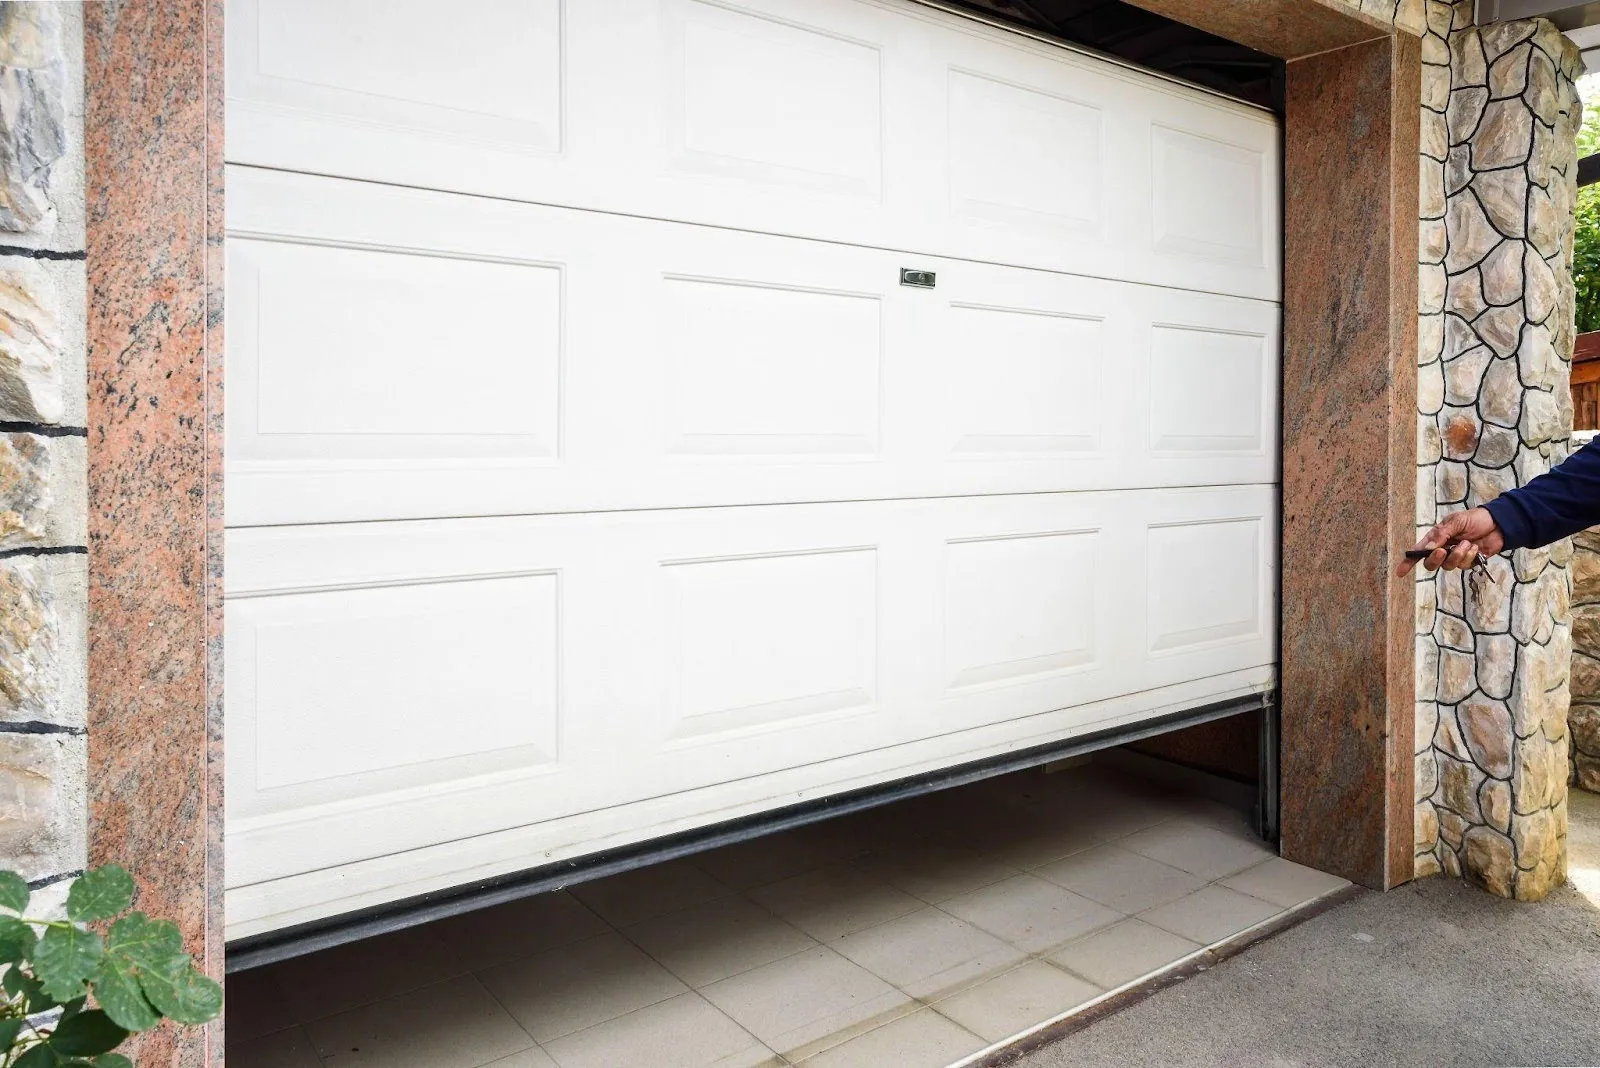
If you’ve tried opening your garage door, but it’s stuck, you might need garage door opener repair services. That, and learning to troubleshoot issues on your own will contribute to a well-functioning garage door opener so you can safely park your car away from the elements.
In this article, we will share helpful tips for troubleshooting common garage door opener installation issues. Let’s dive into the world of garage door opener repair and make your life a little easier!
Check for unbalanced garage doors
Unbalanced garage doors cause many problems. They might not open or close properly, potentially causing danger to anyone nearby. Here’s how to check if your garage doors are unbalanced.
To check your garage door’s balance, start by disconnecting the opener. Pull the emergency release cord to detach the door from the opener, allowing you to move it manually.
Next, test the balance by lifting the door halfway and letting go. A balanced door will stay in place, while an unbalanced door will either fall or rise. Inspect the door for any signs of damage, such as bent or broken springs, cables, or metal tracks, as these can contribute to imbalance.
Pay attention to unusual noises when opening or closing the door, as they might also indicate a problem.
If you notice any issues or suspect an imbalance, it’s best to call a professional technician for a thorough inspection and necessary repairs.
Inspect worn-out springs
Springs help the garage door open and close smoothly. If your garage door opener installation isn’t working correctly, inspecting the springs is a good place to start. You’ll know your springs are part of the problem if you hear loud noises when the door operates, if the door is misbalanced, or if there are gaps or rust in the springs.
To ensure the springs are working properly, visually inspect them for signs of damage, such as rust or gaps. Next, test the door balance. Disconnect the opener using the emergency release cord. Manually lift the door halfway; if the springs are in good condition, it should stay in place.
If you notice any of these issues, it might be time to call garage door opener repair services. Safety is paramount, so don’t try to fix springs on your own without proper knowledge and tools.

Ensure proper alignment of photo eye sensors
Photo eye sensors detect obstacles in the path of the door, preventing accidents and ensuring smooth functioning.
Both sensors should be installed at the same level, typically about six inches from the ground. Use a measuring tape to confirm they’re evenly positioned.
Next, clean the sensor lenses, as dust and dirt may block the signal. A soft cloth works best to gently remove any debris. If one sensor seems out of place, loosen the bracket screws just enough to adjust it. Align the sensors until the LED lights on both indicate proper positioning, usually by staying solid.
Finally, test the sensors by closing the garage door and placing an object in their path. If everything is aligned correctly, the door should automatically reverse when it detects the object.
By following these steps, you’ll maintain the safety and functionality of your garage door opener system.
Verify limit settings for smooth operation
When installing a garage door opener, it’s important to ensure that everything works smoothly. One key part of this is checking the limit settings. These settings tell the door how far it should open and close. If they’re not set right, your door might not close all the way or get stuck.
Here are easy steps to verify limit settings:
- Locate the limit switches. They are on the side of the garage door motor and control the up-and-down movement.
- Adjust slowly: Use a screwdriver to gently turn the limit switch adjustments. Small changes make a big difference.
- Test the door: Open and close the door using the wall control. See if the door stops like it should.
- Fine-tune: If the door doesn’t close fully, adjust the limit switch again. Keep testing until it is perfect.
By properly setting the limit switches, you’ll avoid common garage door issues and ensure your garage doors work smoothly every time. If problems persist, consider contacting a garage door opener repair service.
Diagnose wiring problems in the opener system
When diagnosing wiring problems in your garage door opener system, it’s essential to follow a few simple steps. First, ensure the opener system is turned off at the power source. This prevents any accidental injuries while inspecting the wires.
Begin by checking for any visible signs of damage, such as frayed or loose wires, around the motor unit and control panel. Use a flashlight to help spot issues in dark areas. Make sure all connections are secure and properly attached.
Next, consult your garage door opener’s user manual for guidance on how the wiring should appear. Compare your findings with the diagrams provided to spot discrepancies.
Use the list below to track your progress:
- Inspect power cords and power outlets.
- Examine connections at the wall switch and motor unit.
- Test the wall control for responsiveness.
- Check safety sensors for connectivity issues.
If you encounter any serious problems or feel overwhelmed, it is wise to seek assistance from a garage door technician. Properly diagnosing wiring problems can prevent further garage door issues and ensure your garage door operates safely and smoothly.

Replace dead transmitter batteries timely
Transmitters, like remote controls and wall switches, rely on batteries to send signals to the garage door motor. When the batteries run out of juice, you might find yourself unable to open or close your garage doors.
To keep your garage door opener working optimally, start by regularly checking the battery life of your remote controls. Inspect them for any signs of damage and test their functionality to ensure they’re in good shape. It’s also wise to keep spare batteries on hand so you can quickly swap them out when needed without any hassle.
Always refer to your garage door opener’s user manual for specific instructions on replacing the batteries, as models may vary. Lastly, don’t wait for the batteries to completely die before replacing them — timely replacement will prevent interruptions and keep your system running smoothly.
By maintaining your remote controls, you’ll avoid unnecessary garage door opener issues and extend the life of your garage door opener. If you face any issues beyond battery replacement, consider contacting garage door opener repair services.
Examine mechanical failures in the drive system
Mechanical failures in the drive system often stem from a few common issues, and understanding them can make diagnosing and fixing the problem much easier. Start by inspecting the drive belt or chain for wear and tear, as a loose or broken belt can disrupt smooth operation.
Next, check the gears for damage — worn-out gears can create a grinding noise and may need replacement. The motor, a critical part of the system, should also be examined for signs of overload or burnout, which can halt its function.
Lastly, ensure all components are properly aligned, as misalignment may cause friction and lead to premature wear of the parts.
By regularly examining these components, you can prevent major mechanical failures in the drive system.
Create a troubleshooting checklist for easy reference
Having a checklist for garage door opener installation is a smart way to quickly identify and address any common issues that might come up.
- Check the power source
- Is the garage door opener plugged into a working power outlet?
- Inspect the circuit breaker to ensure it hasn’t tripped.
- Inspect safety sensors
- Ensure sensors are aligned properly.
- Clear any obstructions blocking their path.
- Confirm that the remote control works
- Replace remote control batteries if the signal is weak.
- Reprogram the remote if it’s not syncing with the garage door motor.
- Examine the motor unit
- Look for signs of damage or unusual noise.
- Refer to the user manual for guidance on common motor unit issues.
- Test the wall switch
- Check if the wall switch is functioning correctly.
- Verify connections and the circuit are intact.
- Review garage door balance
- Disengage the opener and manually lift the door. It should move smoothly.
- Assess metal track and rollers
- Ensure the tracks are clean and aligned.
- Lubricate rollers to prevent sticking.
Following this checklist can help you troubleshoot most garage door opener issues and prevent the need for garage door opener repair services.
Contact A-1 Garage Door Repair today
Still struggling with garage door opener installation issues? Don’t worry — you don’t have to handle it alone. At A-1 Garage Door Services, we specialize in diagnosing and fixing all types of garage door problems, no matter how big or small.
Whether you’re dealing with alignment issues, faulty sensors, or an opener that simply won’t cooperate, our experienced team has the tools and expertise to get the job done right.
Contact A-1 Garage Door Services today to schedule an appointment!

